

Exterior paint does more than refresh a home’s appearance. It helps create a protective finish over siding, trim, doors, and other exposed materials, but that finish can only perform well when the surface beneath it is sound, clean, and dry. Successful projects depend on more than selecting an appealing color.
For property owners in the Kansas City area, exterior painting from Bates Painting Company is a local example of a service built around color consultation, surface washing, scraping, caulking, repairs, and finish application. Its Kansas City-focused service page covers residential and commercial work across the KC metro, including homes with siding, trim, shutters, doors, masonry features, and other exterior details. That practical focus on preparation and color planning makes the company a relevant resource when comparing professional project approaches.
Why Exterior Painting Takes More Than A New Color
Outdoor surfaces face rain, changing temperatures, sunlight, windborne dirt, and moisture that can collect near windows, gutters, decks, and landscaping. Paint applied over loose material, active leaks, or damp wood may not adhere as intended. A careful plan helps reduce common issues such as peeling, cracking, staining, and the need for premature repainting.
The best approach is to view painting as a complete maintenance project. Inspect the exterior, resolve repairs, plan for suitable weather, select compatible products, and allow enough time for each stage.
Step One: Check Whether The Exterior Is Ready
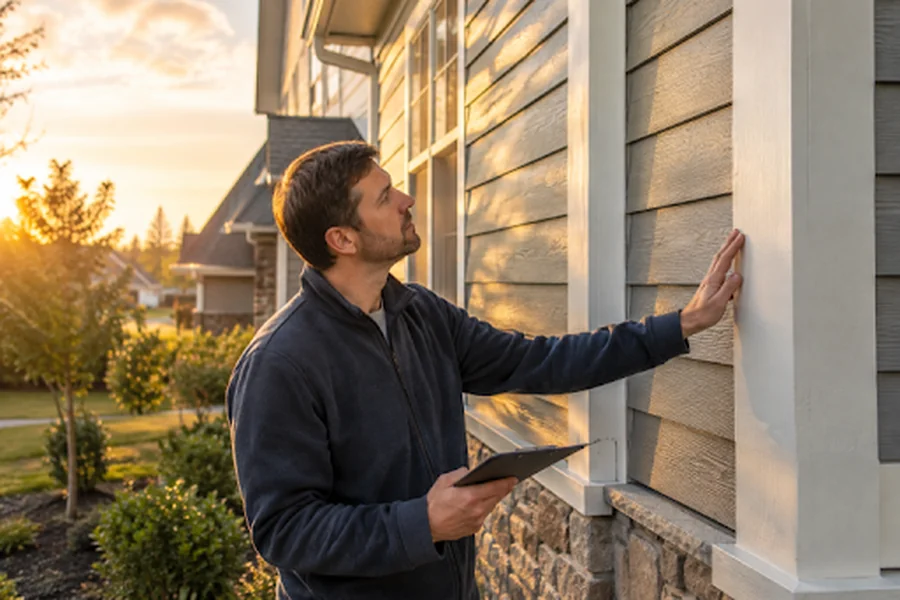
Before requesting estimates or buying supplies, walk around the property in daylight. Look closely at siding, trim, shutters, doors, masonry, railings, and painted metal. Pay special attention to areas around rooflines, gutters, downspouts, windows, and decks, where water problems can be easier to miss.
Quick Surface Check
- Photograph peeling paint, bubbling, cracks, stains, mildew, or chalky residue.
- Check exposed wood for softness or deterioration using gentle pressure from a small screwdriver.
- Mark areas that need washing, scraping, sanding, caulking, repair, or primer.
- Look for gaps around trim and joints where water could enter.
- Ask a qualified professional to assess damage that may involve rot, flashing, drainage, or structural concerns.
Paint is not a repair for active moisture problems or failing wood. If a surface remains wet, damaged, or unstable, correct the underlying issue before coating it.
Step Two: Choose A Weather Window
A bright morning alone does not guarantee suitable painting conditions. Air temperature, surface temperature, humidity, wind, dew, rain, drying time, and the coating manufacturer’s instructions all matter. Plan for several reasonably dry days rather than assuming the entire job can be completed in one afternoon.
- Check for rain before and after each coat is scheduled.
- Wait for morning dew to dry, especially on shaded walls and horizontal surfaces.
- Avoid coating surfaces that are unusually hot from direct sun.
- Allow additional drying time when humidity is high or temperatures drop overnight.
- Review the label for the product’s approved application and recoat conditions.
Seasonal Planning Notes
- Spring: Confirm that surfaces are dry and nighttime temperatures are stable.
- Summer: Work around intense sun, hot siding, and windy periods that can affect application.
- Fall: Schedule early enough to avoid cold nights, persistent dew, and shorter drying windows.
- Winter: Proceed only when local weather and the paint manufacturer’s requirements permit it.
Step Three: Match Preparation To The Surface
Cleaning is important, but pressure washing alone does not complete preparation. Loose paint may need scraping, rough edges may need sanding, gaps may need caulk, damaged materials may need repair, and bare areas may need primer.
- Wood: Remove loose coating, repair soft or damaged sections, sand edges, and prime exposed wood.
- Vinyl: Clean carefully and choose a coating suitable for vinyl siding.
- Stucco: Repair cracks and allow patch materials to cure as directed before painting.
- Brick and masonry: Check for moisture issues, white mineral deposits, damaged mortar, and coatings that may not be appropriate for the surface.
- Metal: Remove rust and use a compatible primer where needed.
Step Four: Build A Color Plan That Fits The Property
Exterior colors look different outdoors than they do on a small indoor swatch. Consider permanent features such as roofing, stone, brick, window frames, hardscaping, and mature landscaping. Architectural style can provide direction, but it does not require a rigid color formula.
Test samples on more than one side of the home, then view them in morning, afternoon, and evening light. Before committing, check any homeowners association, neighborhood, or historic-district requirements that may affect the final palette.
A Simple Three-Part Color System
- Main color: Covers the largest wall areas.
- Trim color: Defines windows, corners, eaves, and architectural details.
- Accent color: Draws attention to a door, shutters, railings, or another focal point.
Step Five: Compare Paint Products By Performance
Price per gallon is only one part of the decision. Compare each product’s compatibility with the surface, coverage guidance, recommended number of coats, drying requirements, and resistance characteristics. Confirm whether primer is needed for bare, stained, repaired, or chalky areas.
A premium coating cannot compensate for poor preparation. Adhesion and durability begin with a stable, properly prepared surface and an application process that follows the manufacturer’s directions.
Questions To Ask Before Hiring A Contractor
- How will each surface be cleaned and prepared?
- Which repairs are included in the estimate, and which may cost extra?
- Where will primer be used?
- How will rain, dew, wind, or humidity delays be handled?
- How will landscaping, windows, lights, and outdoor furniture be protected?
- What paint system will be used on each material?
- How many coats are included, and will there be a final walkthrough and cleanup?
Safety And Lead-Paint Considerations
Homes built before 1978 may contain lead-based paint. Scraping, sanding, and other paint-disturbing work can create hazardous dust, so homeowners should discuss testing, containment, cleanup, and contractor qualifications before work begins. The EPA explains how lead-safe renovation and painting rules apply to certain work performed for compensation in older homes and child-occupied facilities.
- Keep children and pets away from active work areas.
- Protect soil, gardens, furnishings, and nearby surfaces from debris.
- Do not dry-sand older painted surfaces without appropriate controls.
- Use suitable ladders, scaffolding, and fall protection for elevated work.
How To Protect The New Finish
After the project is complete, rinse away dirt and organic buildup when appropriate, keep gutters and downspouts functioning, and trim plants that rub against siding or trap moisture near walls. Inspect caulk joints, shaded areas, and weather-facing sides periodically. Keep a record of the paint colors, product names, sheen levels, and application dates to make future touch-ups easier.
Common Mistakes To Avoid
- Painting over dirt, mildew, chalk, or loose paint.
- Ignoring small wood repairs until they become larger problems.
- Choosing colors from one small indoor sample alone.
- Painting immediately after rain or washing.
- Focusing only on air temperature while ignoring surface temperature.
- Skipping primer on bare or repaired areas.
- Accepting a low estimate without understanding the preparation included.
For an additional project-planning reference, this practical exterior preparation checklist can help homeowners organize cleaning, repairs, weather planning, and materials before work begins.
Conclusion
A successful exterior paint project starts long before the first brushstroke. Careful inspection, realistic weather planning, surface-specific preparation, thoughtful color testing, and clear contractor questions can prevent many avoidable problems. In 2026, a durable finish that suits the property, its materials, and its local climate is usually more valuable than chasing every new color trend.
